
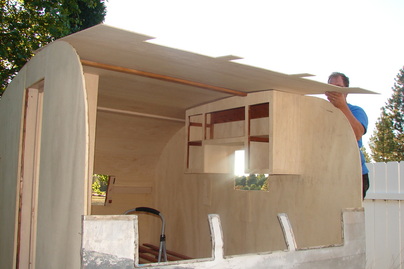
Big mistake #2 - placement of the front window
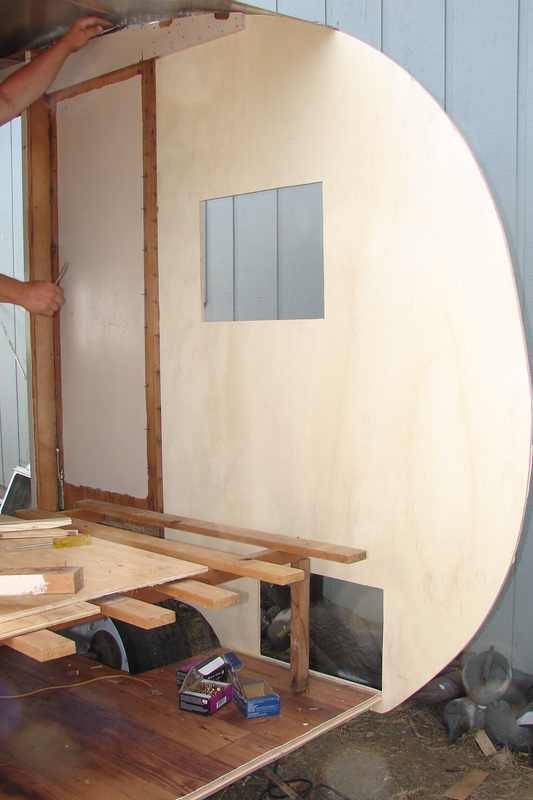
We were feeling pretty happy here. Finally, the 4' plywood section fit on each wall.
Remember when we demoed the ceiling in the trailer the day we brought it home? Well, we couldn't tell how the size of the plywood pieces we were pulling out because they were so rotten. That's where we made our mistake. We should have measured the area before we demoed the rest.
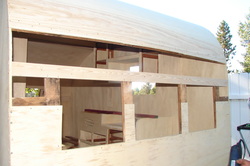
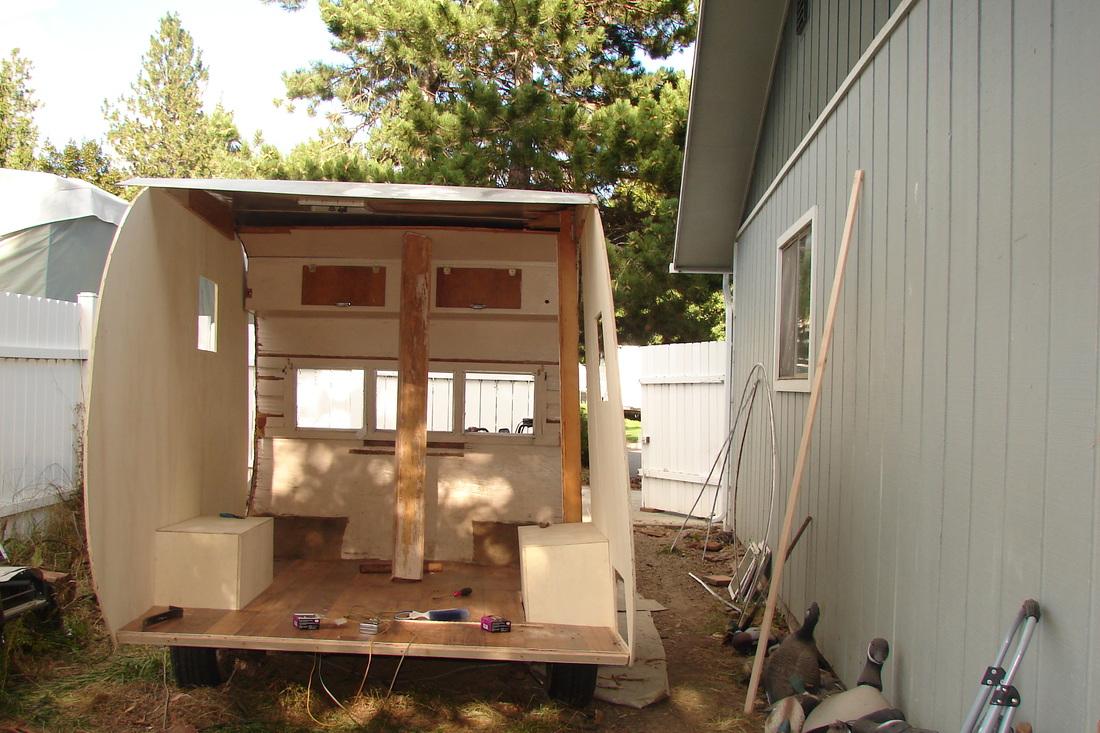
See the cutout of the three windows? Doesn't it seem just a little bit too high? Well, it was.
We decided to put on the bottom piece of the wall and work our way up.
Remember when we demoed the ceiling in the trailer the day we brought it home? Well, we couldn't tell how the size of the plywood pieces we were pulling out because they were so rotten. That's where we made our mistake. We should have measured the area before we demoed the rest.
See the cutout of the three windows? Doesn't it seem just a little bit too high? Well, it was.
We decided to put on the bottom piece of the wall and work our way up.
We continued attaching the piece in the picture above to the walls. We put a 3" bracing piece inside the walls to hold it in place. (Without the bracing piece, the plywood would bow and the nails would not be strong enough to hold it to the side walls.)
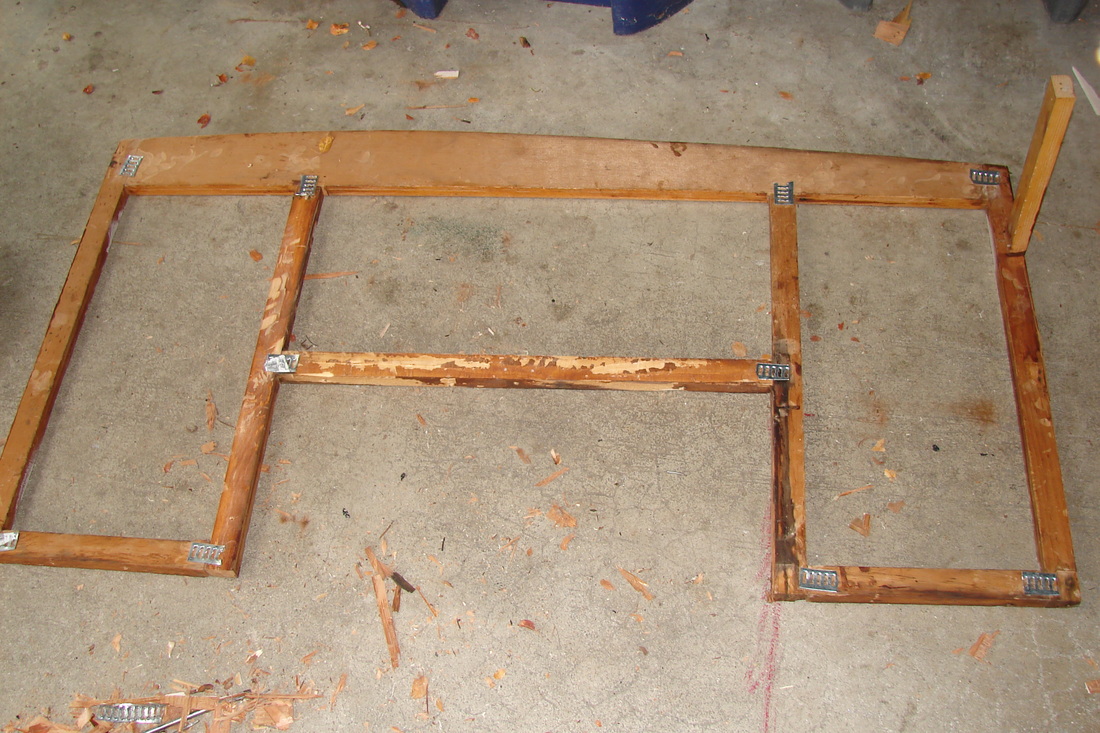
We then secured the bottom front wall piece. To hold it in place we attached the entire window frame that secured the walls and windows from the original trailer. (We used a combination of original lumber and replaced any rotten lumber with fresh. The section between the lumber on the top of the wall and the bottom window section was about 15".
We then secured the bottom front wall piece. To hold it in place we attached the entire window frame that secured the walls and windows from the original trailer. (We used a combination of original lumber and replaced any rotten lumber with fresh. The section between the lumber on the top of the wall and the bottom window section was about 15".
We had to cut away the lower 1.5" of the bracing piece securing the plywood coming over the ceiling. We then nailed in the 15" piece of new lumber, secured it to the side walls, and cut out the holes for the windows.
We overcame the mistake, but learned a lot. Even though you may not have original lumber to use as a template, measure whatever rotten lumber you take out and adjust your plan accordingly.
We overcame the mistake, but learned a lot. Even though you may not have original lumber to use as a template, measure whatever rotten lumber you take out and adjust your plan accordingly.
Let's talk about the mistakes we've made, Big one #1
|
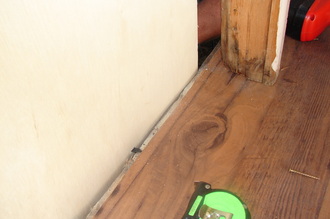
This is where the rear wall of the trailer meets the doorway. The rear wall is riding on the floor.
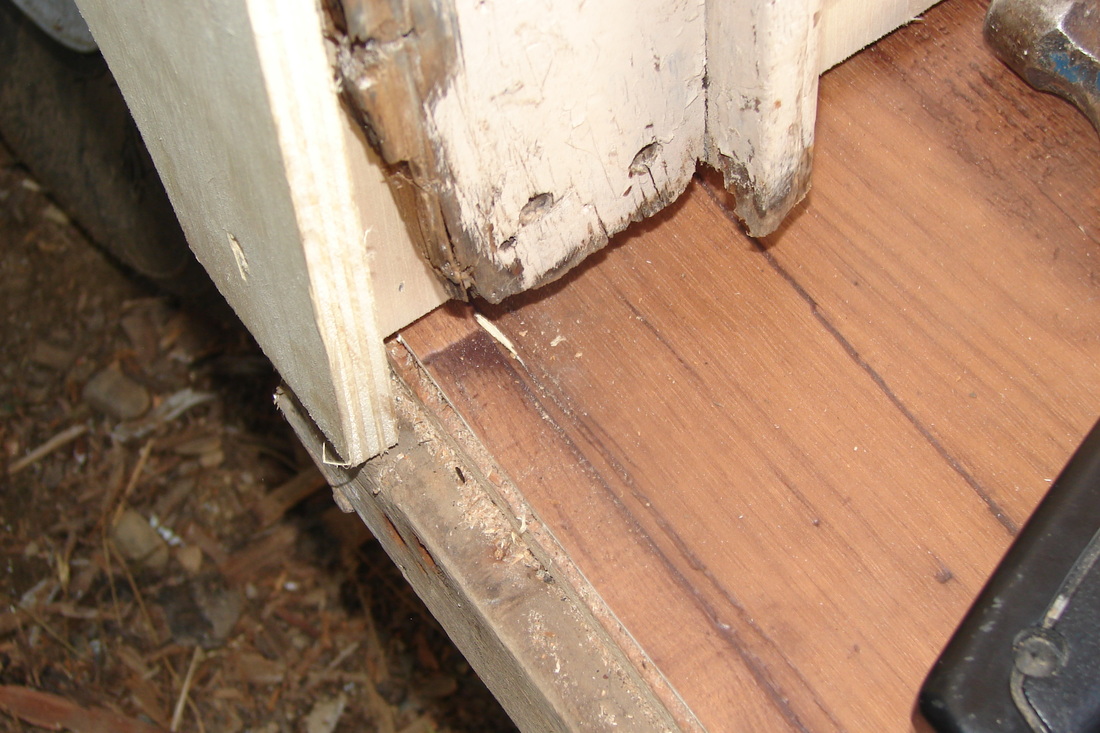
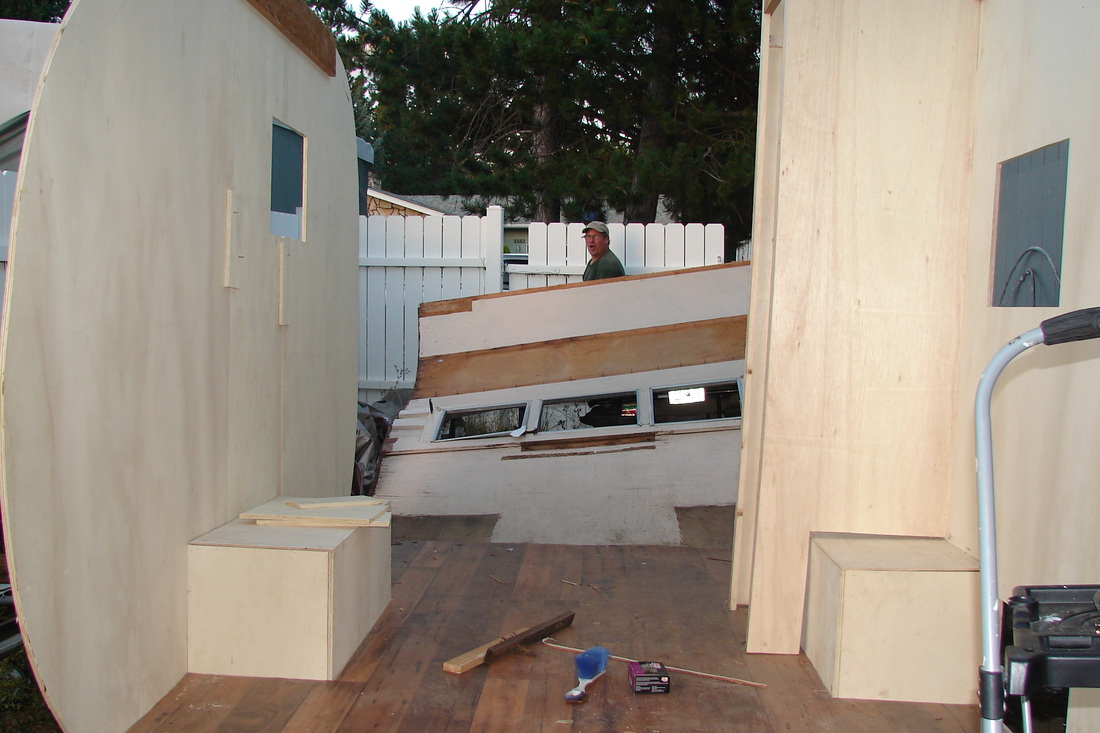
We remembered the rear wall riding on the floor and cut the lumber accordingly. But, when it came to the front wall, we couldn't remember how it attached to the frame. Also, the door frame was extremely rotten so we couldn't use that as a gauge as to how long the wall was. We cut the wall so it would butt up with the bottom of the bracing BENEATH the floor. WRONG! When we went to put the front of the trailer on, our side walls were 1" off. We had to cut the lower part of the wall off so it would ride on the floor. |
Here, you can see the Sawzall blade cutting off the wall. We then put the bottom of the wall onto the floor.
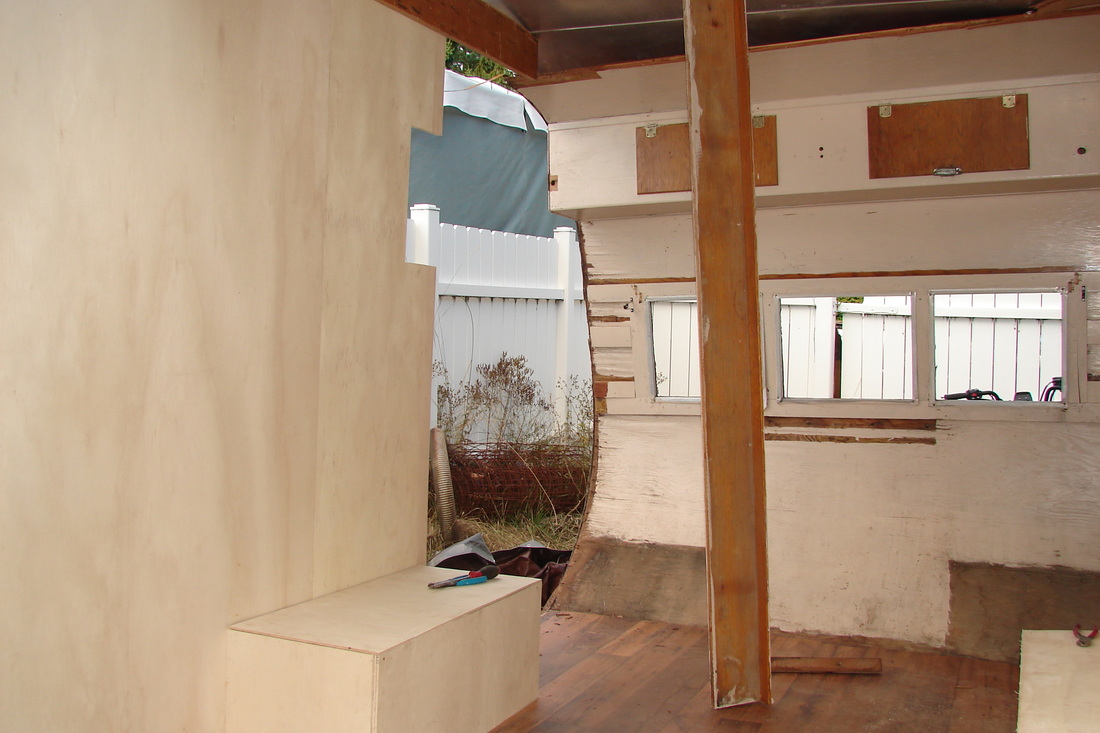
After that, we were able to continue adding the remaining wood needed to complete the ceiling and front wall.
After that, we were able to continue adding the remaining wood needed to complete the ceiling and front wall.
Demo and Renovation, Day #3
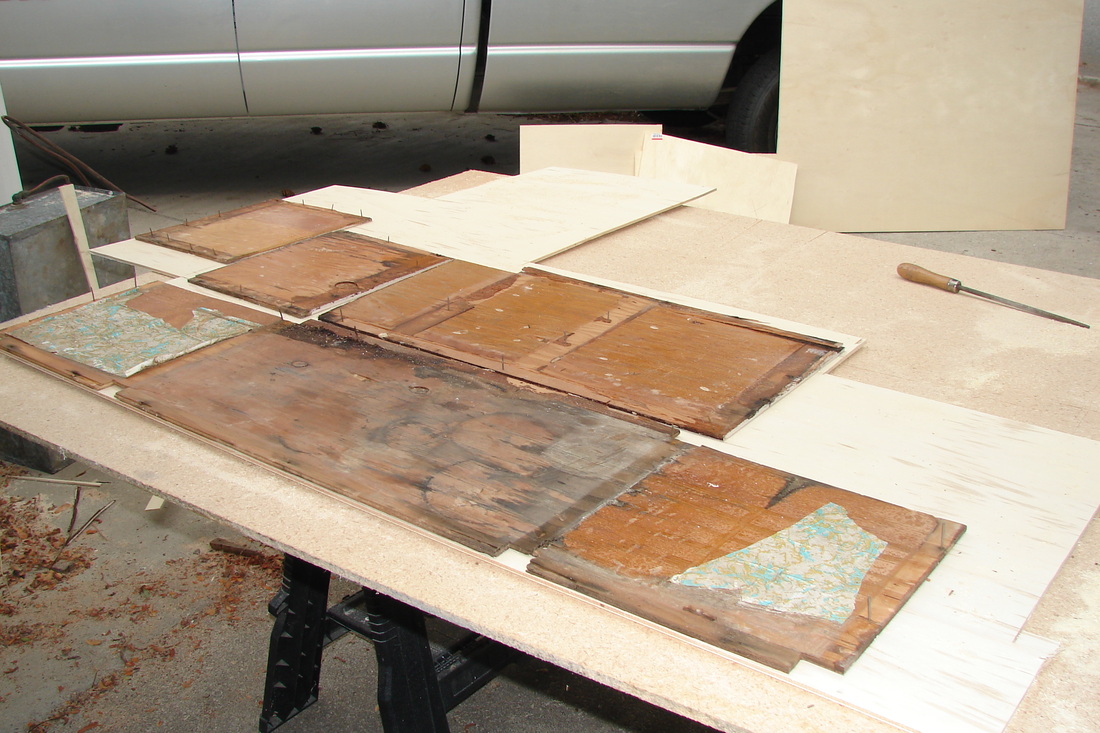
We have been dreading, and also looking forward to this day. Just like the cabinets, we laid the old walls out onto plywood, traced the shape and cut them out. The side walls are made of 1/2" plywood and the ceiling is only 1/4" plywood.
We did the rear right side (as you look at the back of the trailer) and then the left side.
We did the rear right side (as you look at the back of the trailer) and then the left side.

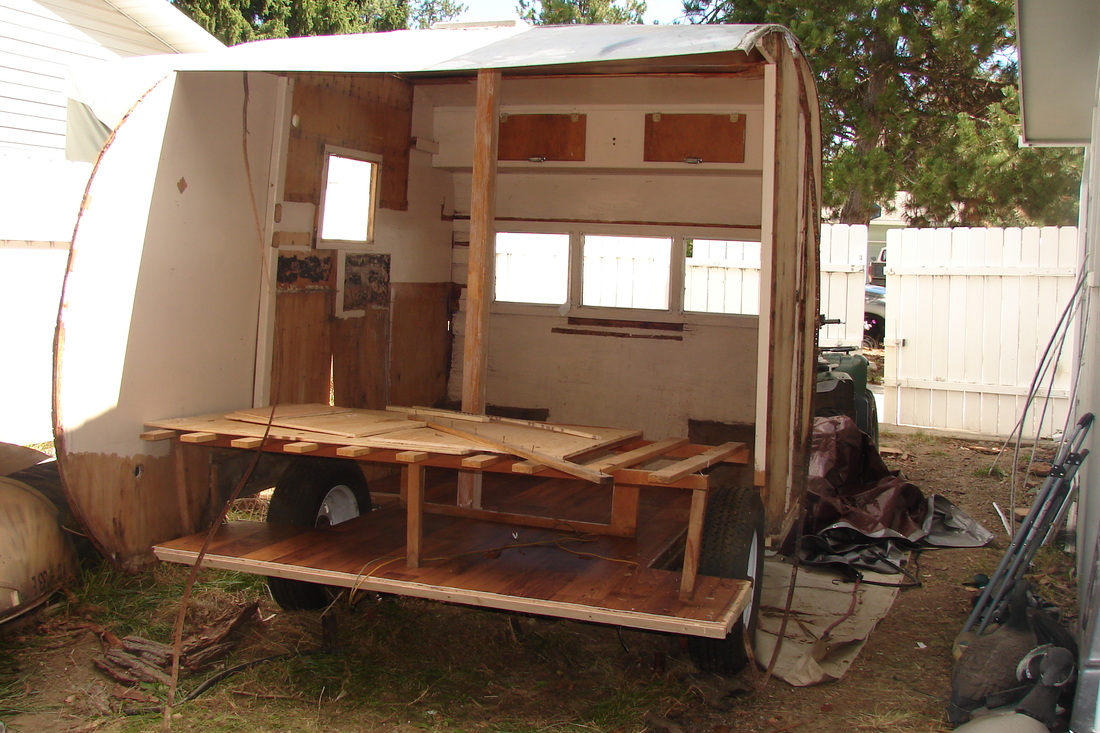
We were able to get nearly all of the walls up without incident. We had loosened the tin on the ceiling and the front wall from the side walls and it was just hanging out, propped up by some lumber. Then it started to lean to one side . . .


We are hoping to get the rest of the ceiling and the front wall on tonight.
Demo and Renovation, Day #2
Hooray! We are finally going to make some progress that will result in rotten, smelly wood going to the dump.
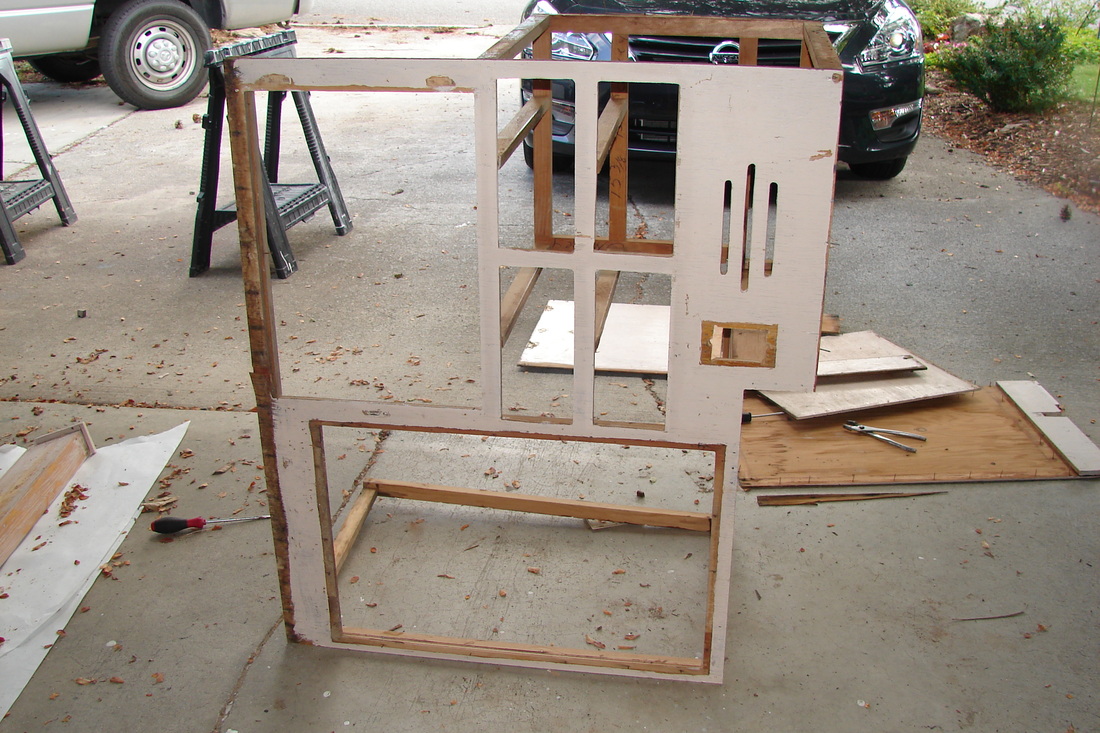
We started the day making the new kitchen cabinets and the closet. These will help support the walls and ceiling of the trailer. The face of the cabinets were laid onto 1/4" plywood, traced, and then cut out. We then attached the new face to the existing frame. Luckily, we did not have to replace any of the wood that made up the framework of the cabinets.
We started the day making the new kitchen cabinets and the closet. These will help support the walls and ceiling of the trailer. The face of the cabinets were laid onto 1/4" plywood, traced, and then cut out. We then attached the new face to the existing frame. Luckily, we did not have to replace any of the wood that made up the framework of the cabinets.


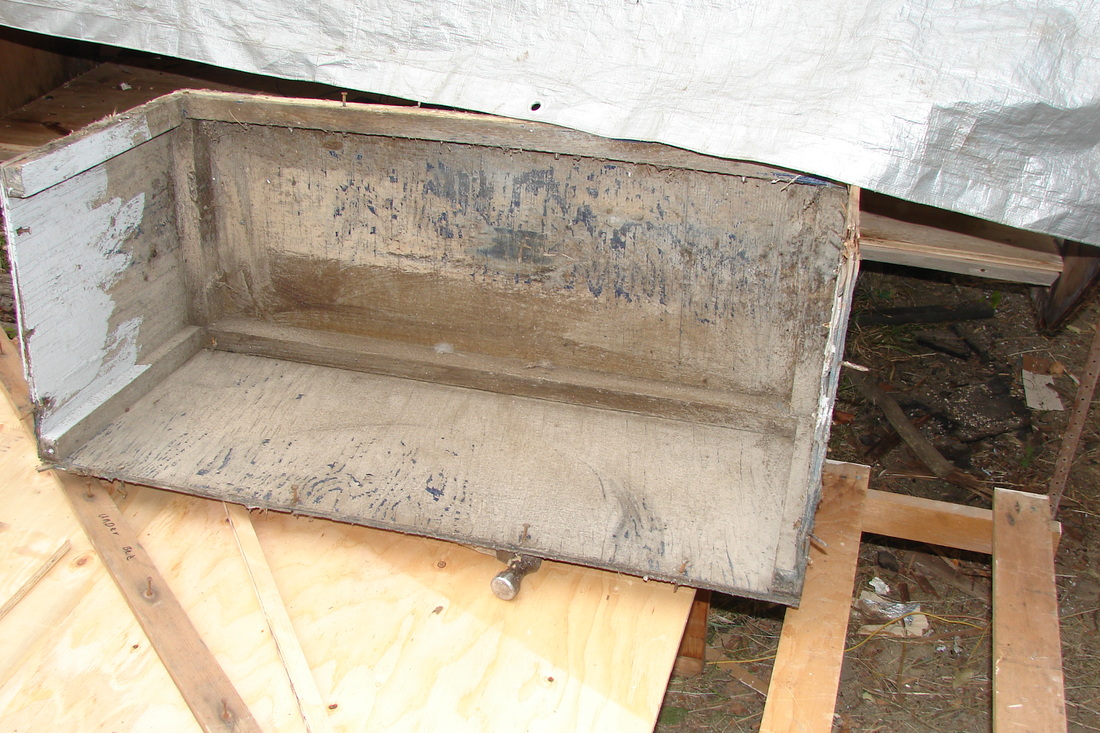
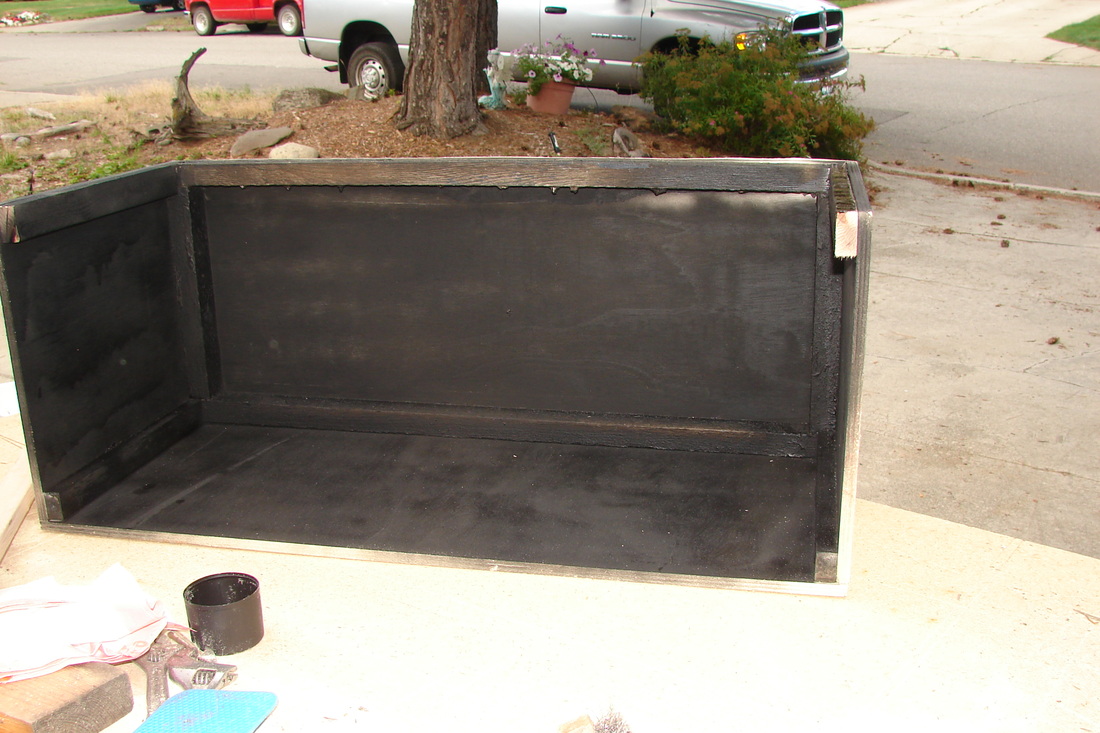
The wheel wells were just plain nasty. Think black widow spiders, dead bugs, dirt, and those cotton-bally nests spiders make. ICK. We replaced any rotten portions of the frame and used scraps of plywood from the cabinets to rebuild the wheel wells. Like the cabinets, the wheel wells add support to help hold up the side walls of the trailer. We sprayed the inside the trailer, with spray-on truck bed liner to help protect them from moisture.
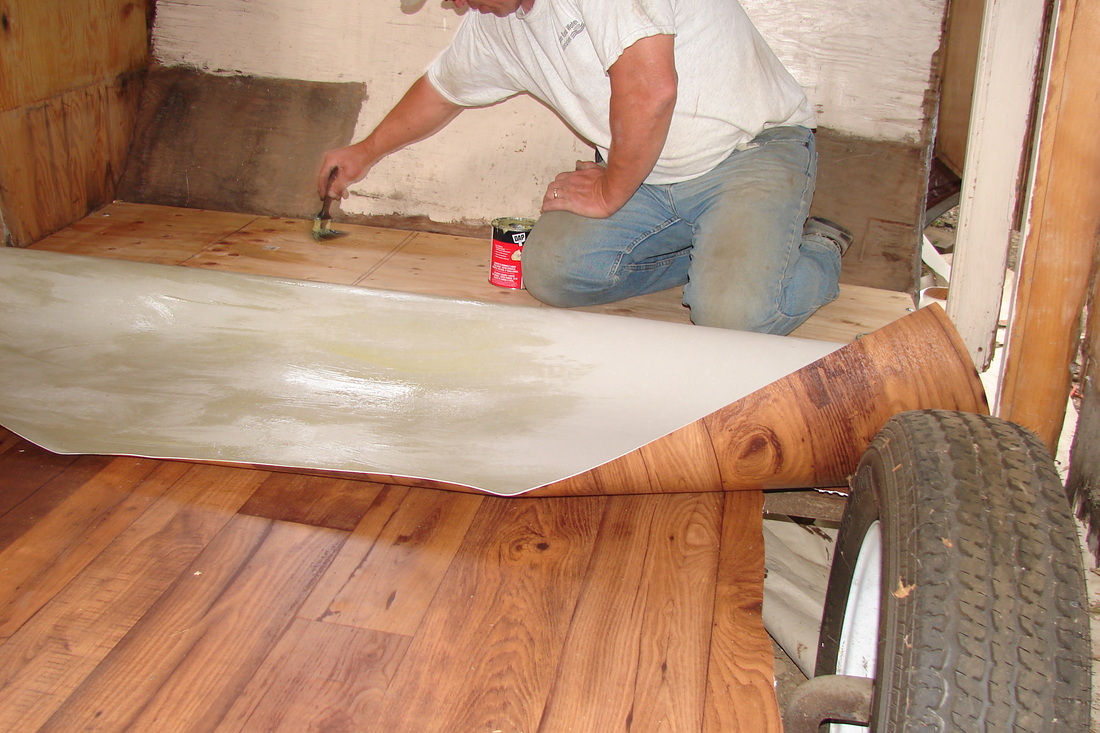
Before we installed the wheel wells, we put in the floor. The original linoleum in the trailer was lighter, but was a similar wood texture. Having the wheel wells out of the trailer made it easier to lay the linoleum. First we did a dry run and cut out the area where the wheel wells were. We started by folding back the rear half and securing it down, then we did the front half. Tomorrow . . . we demo the walls and put up new ones!
Demo Day #1 **Warning** Anyone attempting a project like this should make sure their tetanus vaccine is up to date.
We've been waiting for a string of days where we were both free and the weather would be good to start demolition and renovation of our canned ham. Yesterday was the day.
Our plan was to go slow. Just remove some tin off the back and see how much wood we really need to replace. It wasn't good. There was a LOT of rot and mold. First we removed the tin from the back of the trailer.
We could tell when we saw the very bottom of the rear wall that the flooring back there would need to be replaced. That's when we decided to take off the tin on the side walls.
Once we started removing all the nails, screws, and tacks holding the tin and the windows on, it went pretty quickly. It took us three hours to remove the tin from three walls.

We took a deep breath and removed the lower portion of the wall from the rear of the trailer.
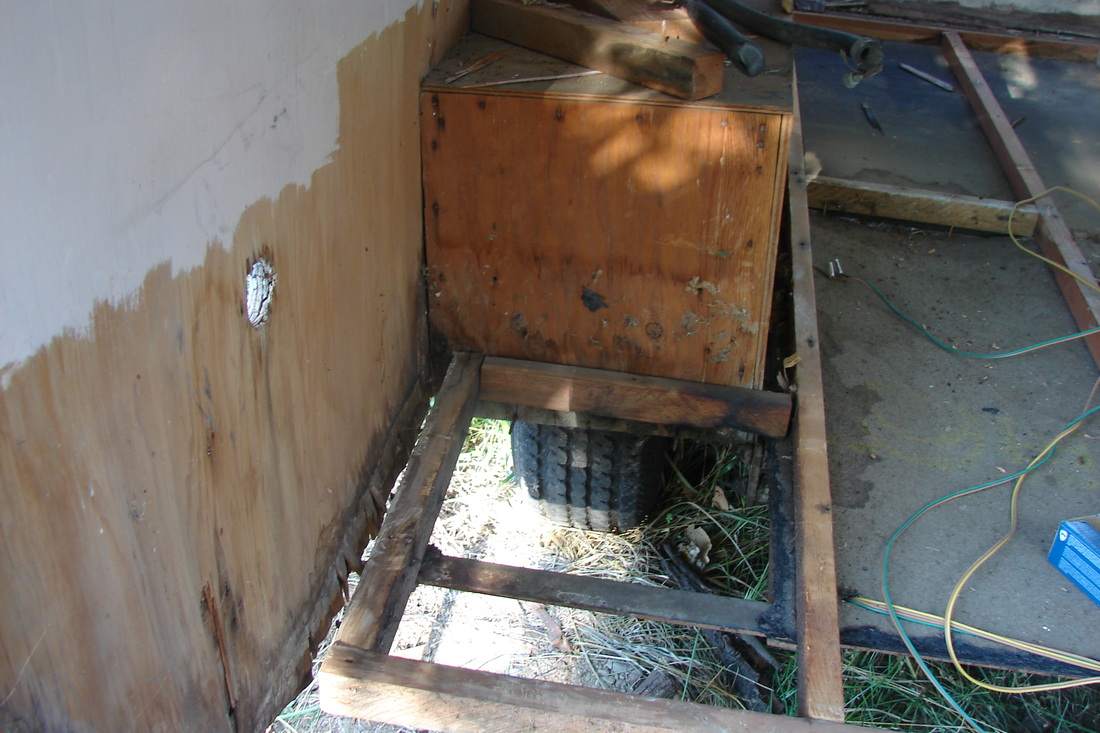
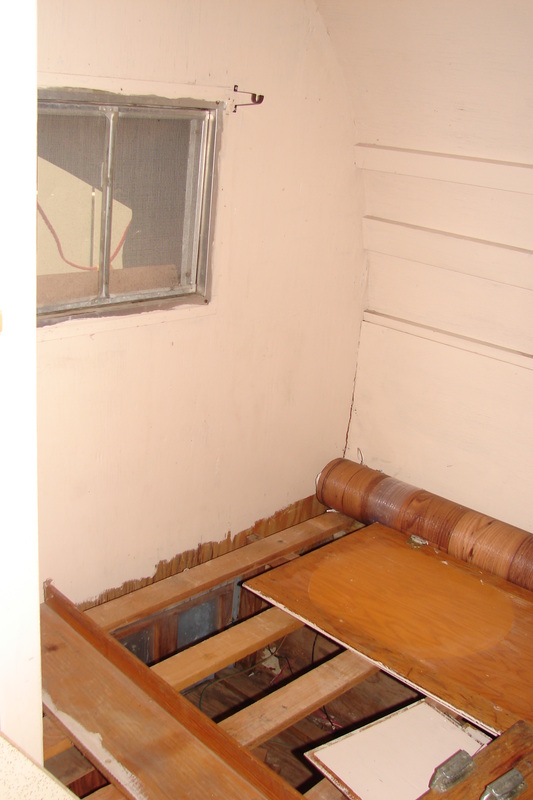
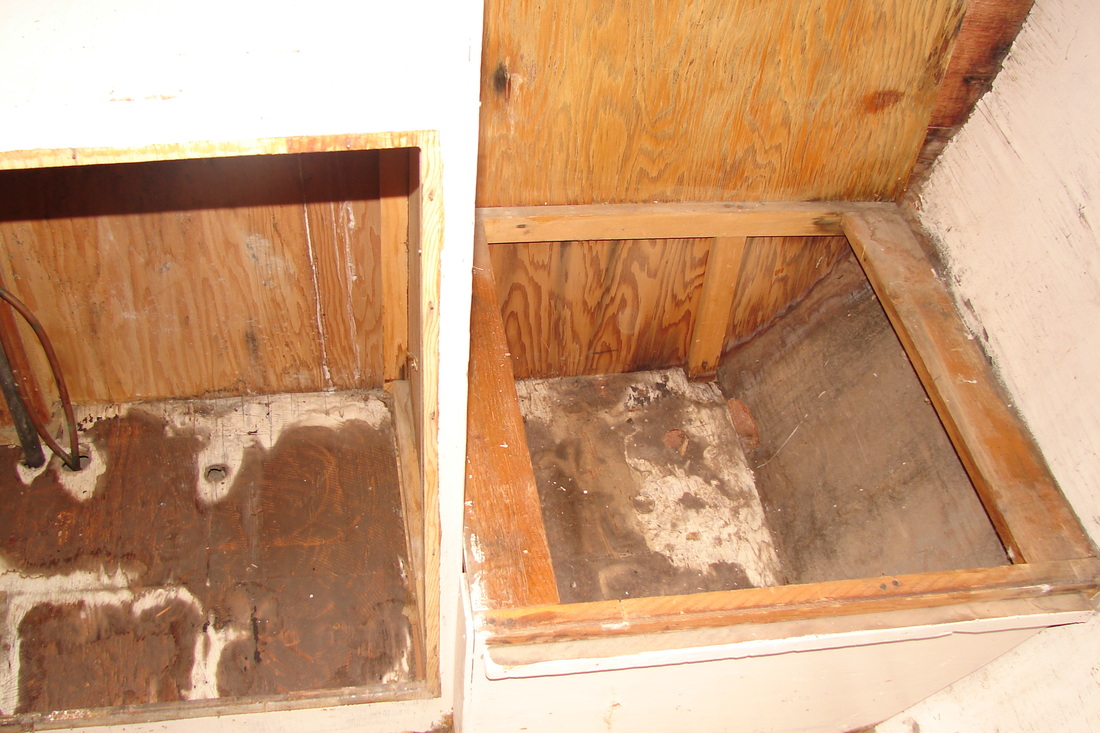
Next, we removed all of the wiring, the bed frame (that was in contact with the rear wall, the kitchen, and the dinette chairs at the front of the trailer. It was time to rip out the floor. Please note the total lack of insulation near the wheel well. (You can see the tire underneath the trailer.
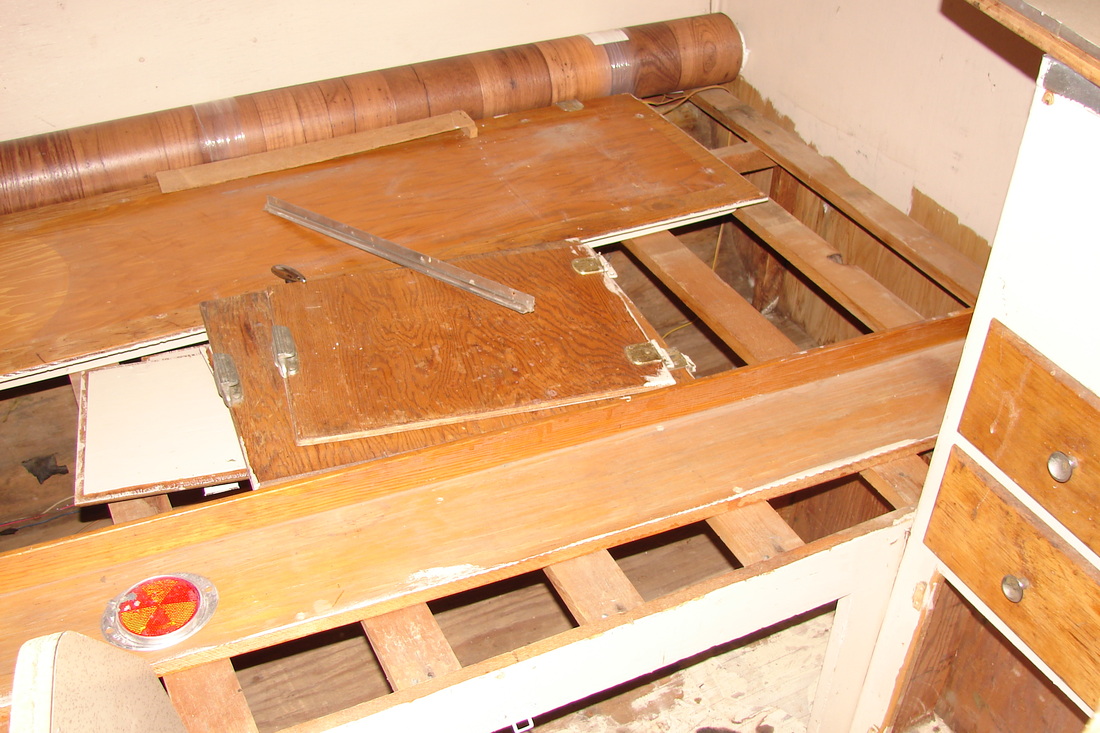
See that piece of 1 x 2 that looks out of place? It was a failed attempt to patch a hole in the floor. We reinforced the center brace and then added new braces between the wheel wells.
See that piece of 1 x 2 that looks out of place? It was a failed attempt to patch a hole in the floor. We reinforced the center brace and then added new braces between the wheel wells.


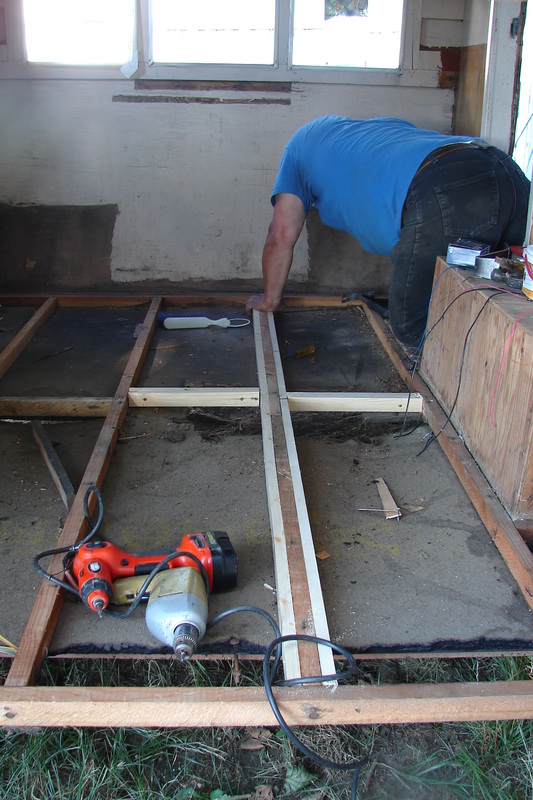
We also had to replace damaged bracing by the front door. Once we had reinforced or replaced the missing supports for the floor, it was time to put the new floor in.

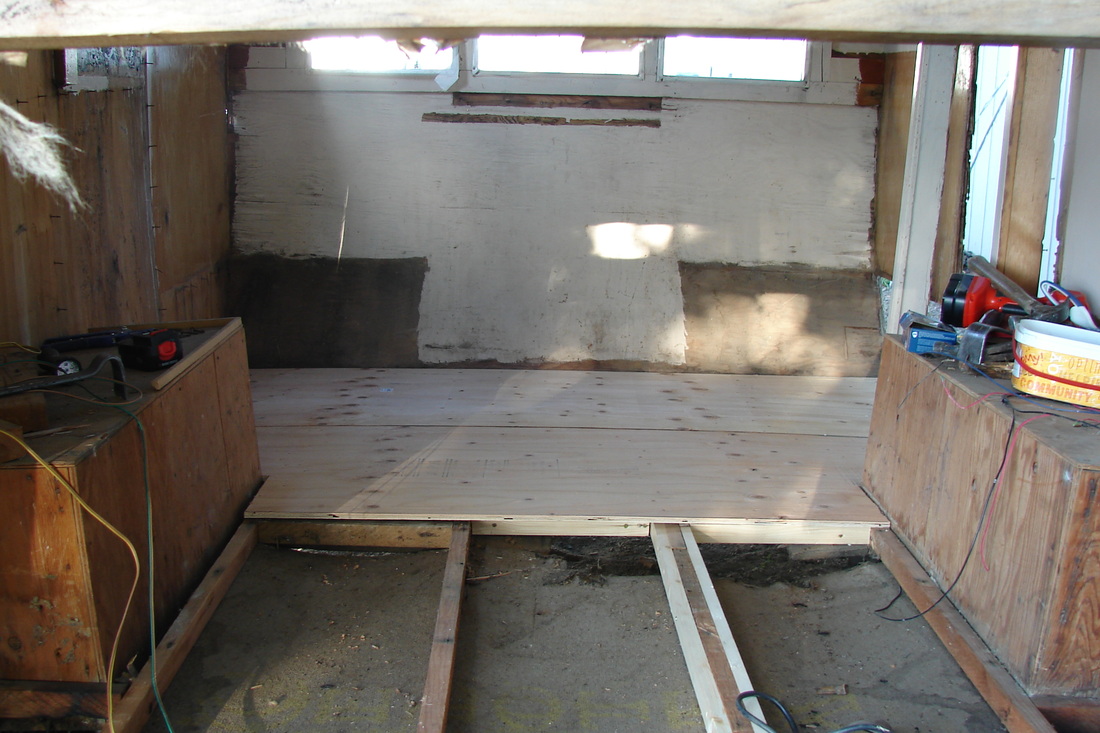
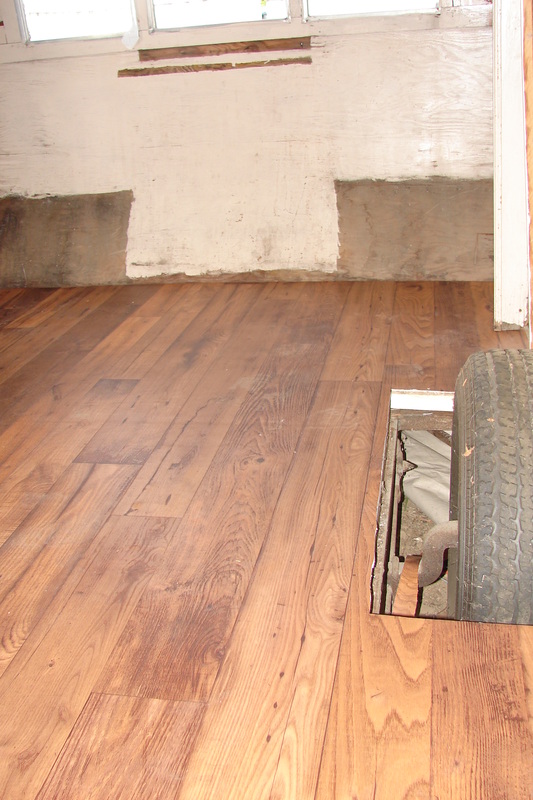
Hooray!! As the sun is setting, we have a clean (and sturdy) floor in the canned ham. We've been calling her the Honey Ham, but I'm not sure if that name will stick.
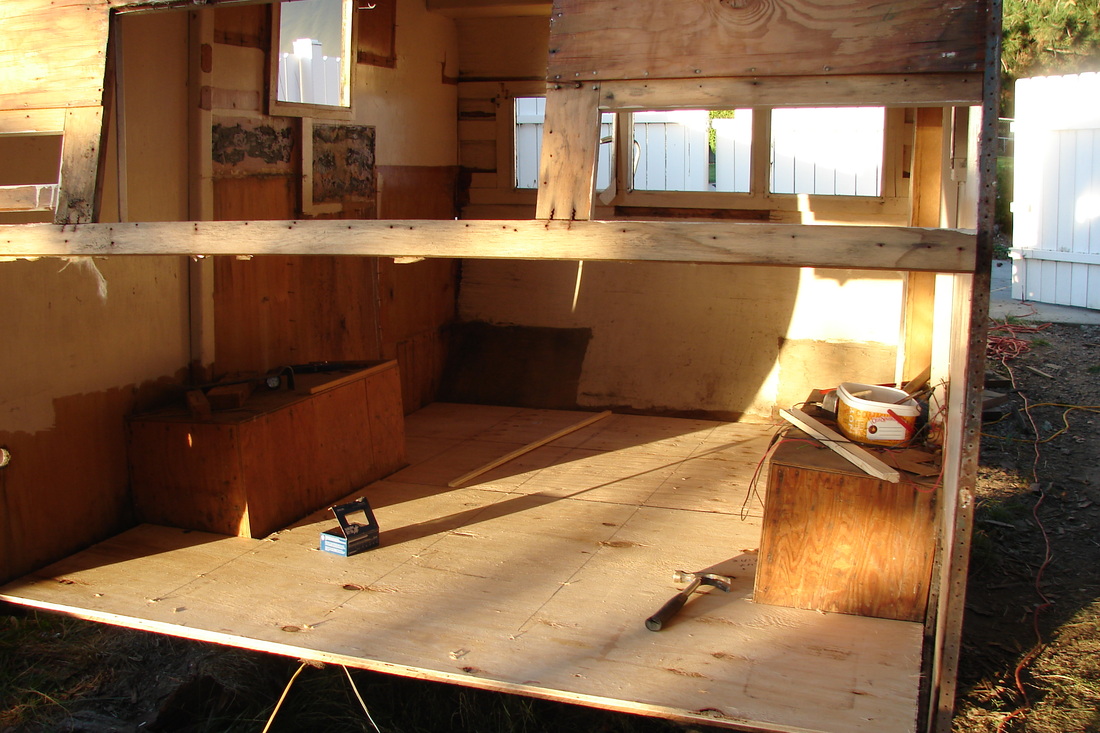
Next up will be new wheel wells.
And cleaning up the mess in our yard.
Next up will be new wheel wells.
And cleaning up the mess in our yard.


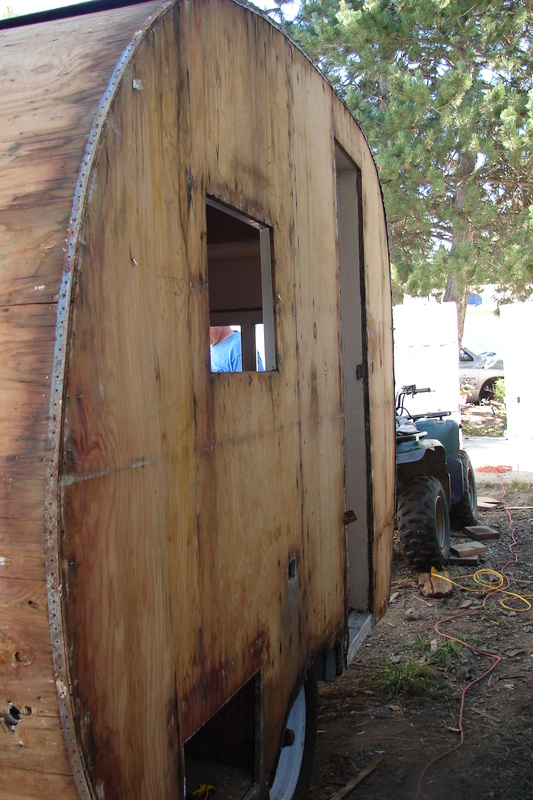
Honey! We have a canned ham!!
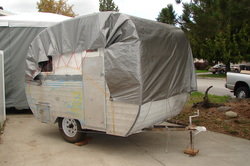
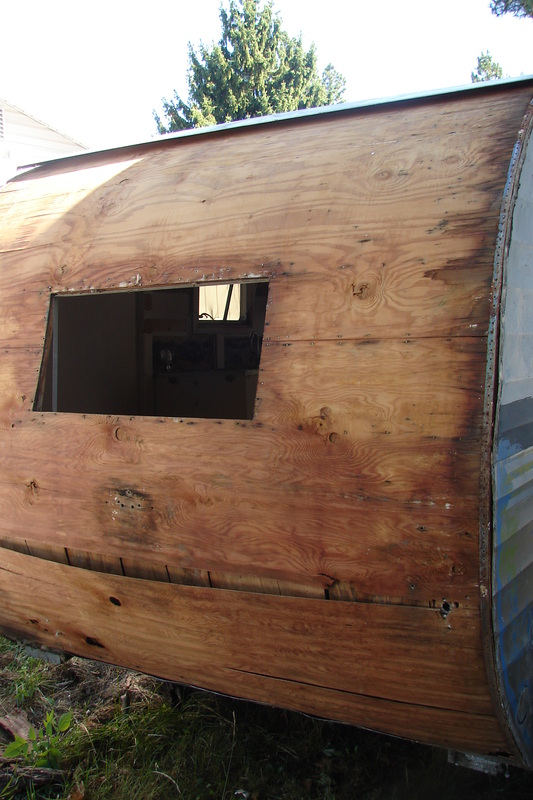
Mr. Dusty Butts saw this little canned ham when he was working one day. He asked the lady who owned if it she would like to sell it, and she said yes. We bought it the next day. We are very excited to restore this little cutie to its former glory.
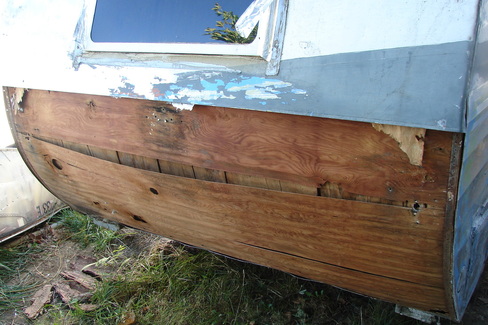
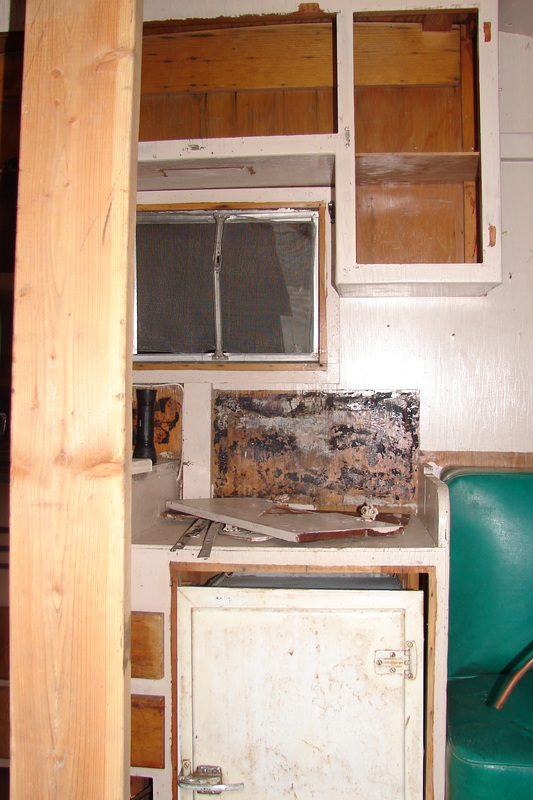
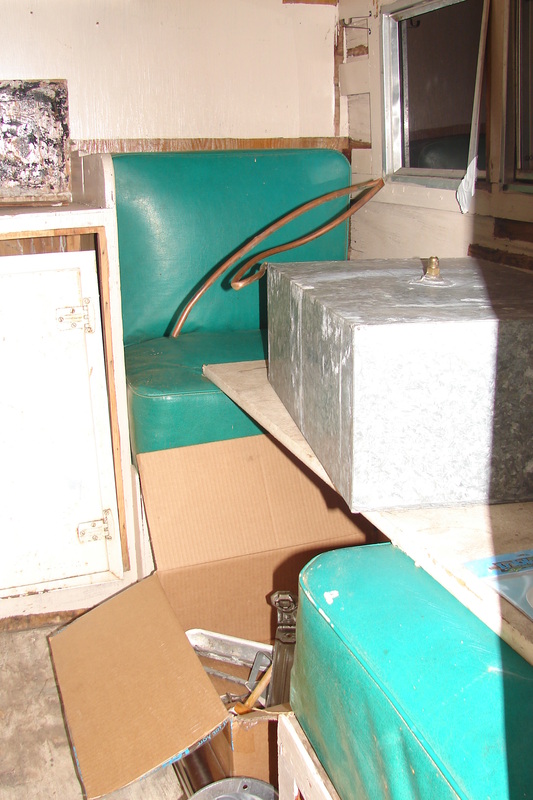
Below are pictures of the "before." There is some fairly extensive water damage.
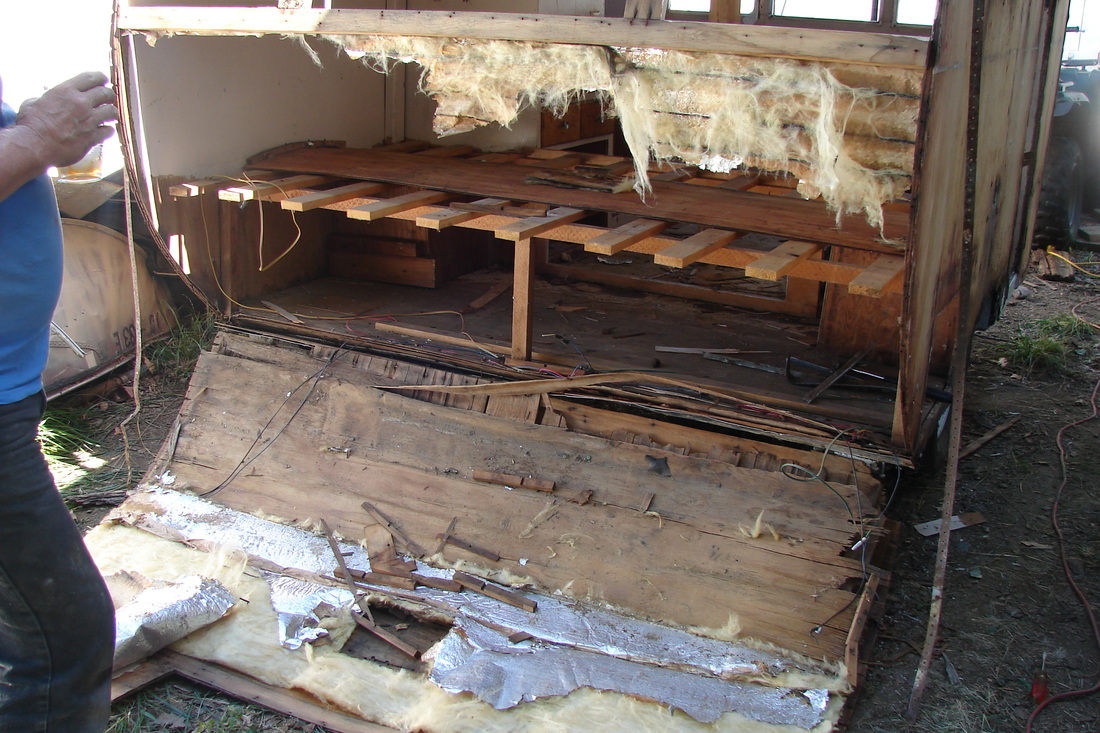
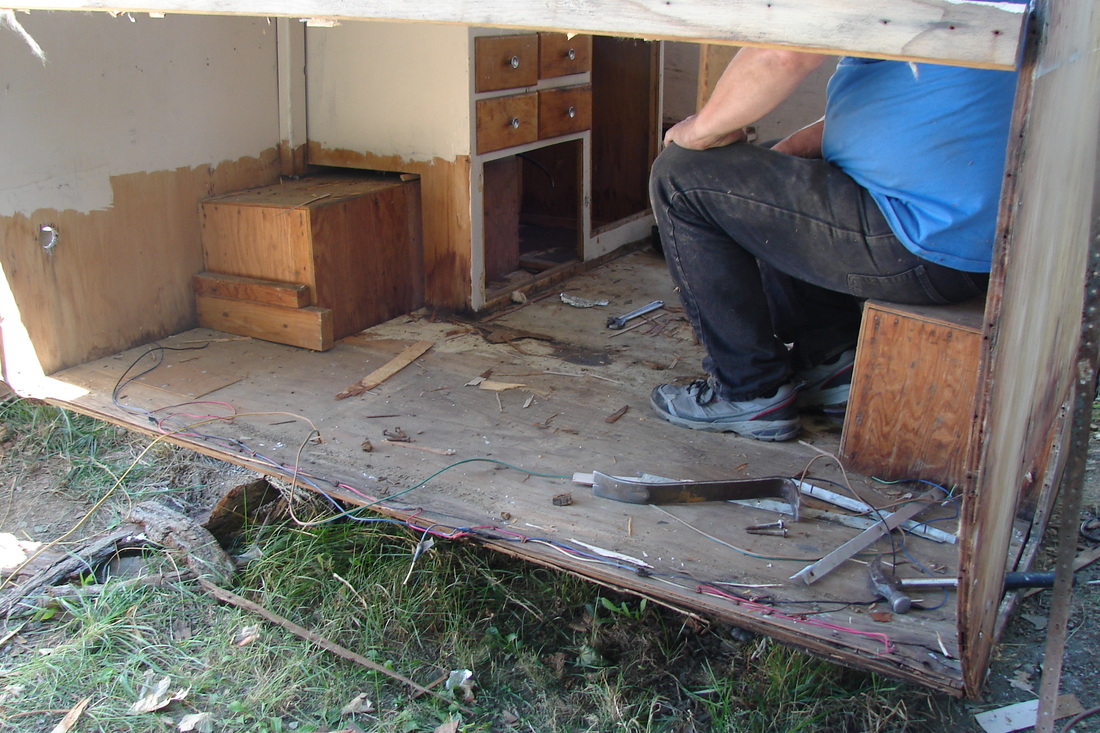
The pictures start with how the trailer looked when we got it home. We then started to remove anything that wasn't nailed down. The seat cushions, loose cabinet doors, and the water tank.
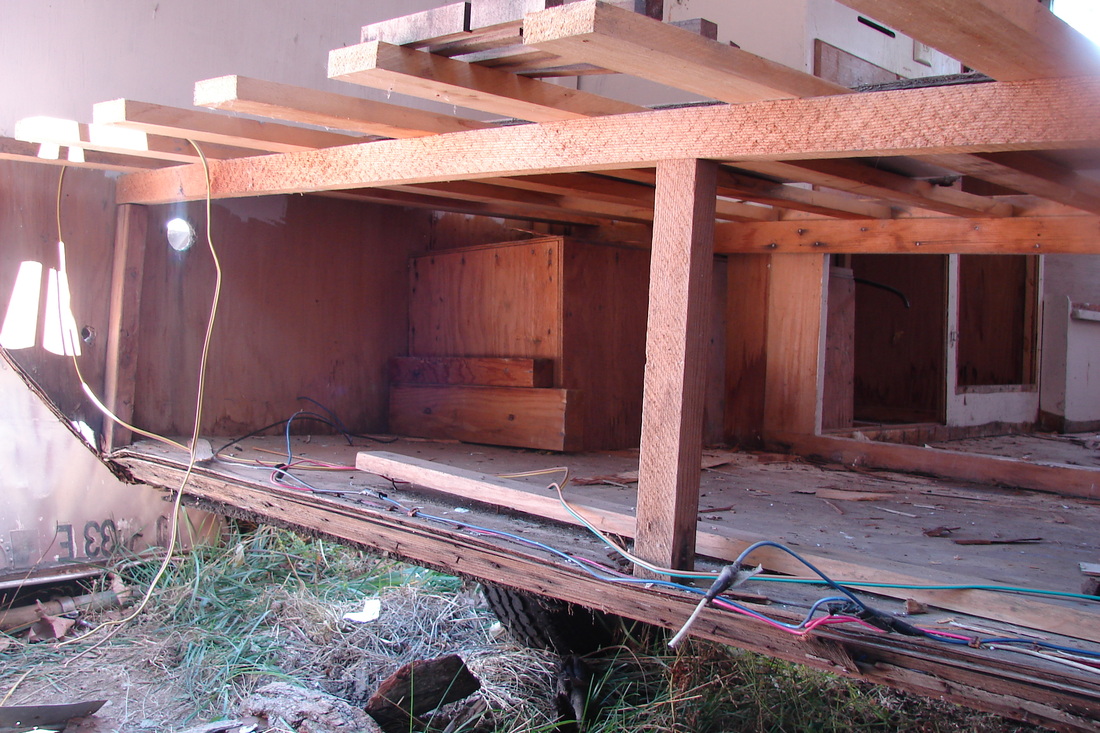
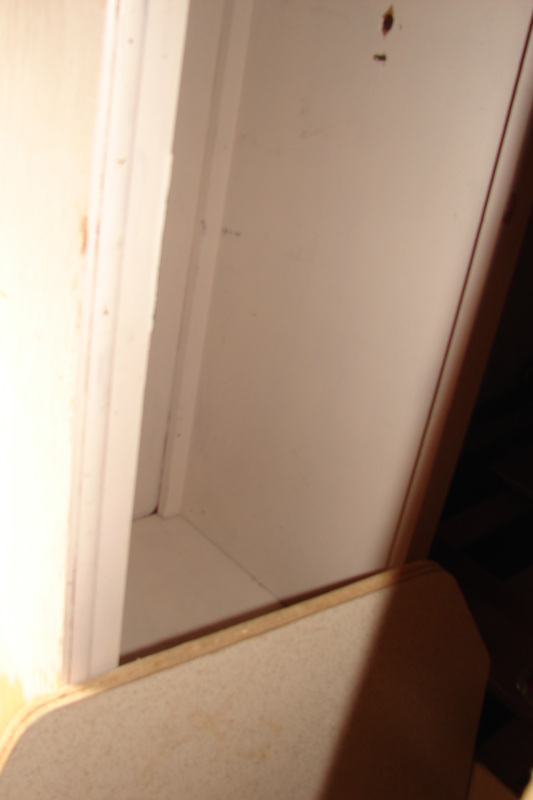
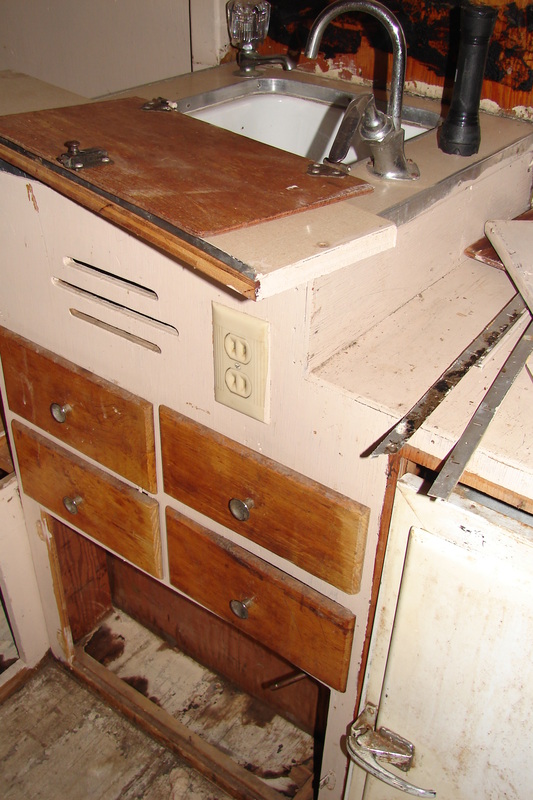
There is a lot of water damage (rot as well as mold) under the bed, the seats in the dining area and the floor under the kitchen cabinets.
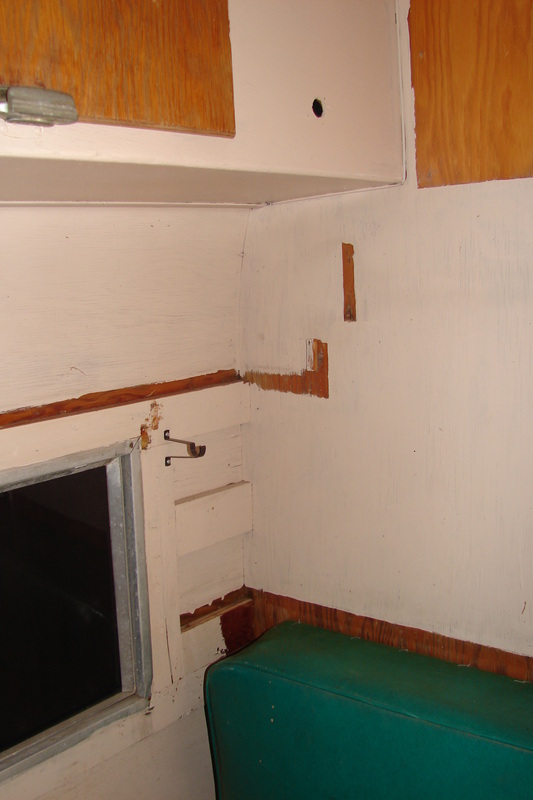
By the end of this set of photos, we have removed the closet and the upper kitchen cabinet and the ceiling in that area.
Below are pictures of the "before." There is some fairly extensive water damage.
The pictures start with how the trailer looked when we got it home. We then started to remove anything that wasn't nailed down. The seat cushions, loose cabinet doors, and the water tank.
There is a lot of water damage (rot as well as mold) under the bed, the seats in the dining area and the floor under the kitchen cabinets.
By the end of this set of photos, we have removed the closet and the upper kitchen cabinet and the ceiling in that area.


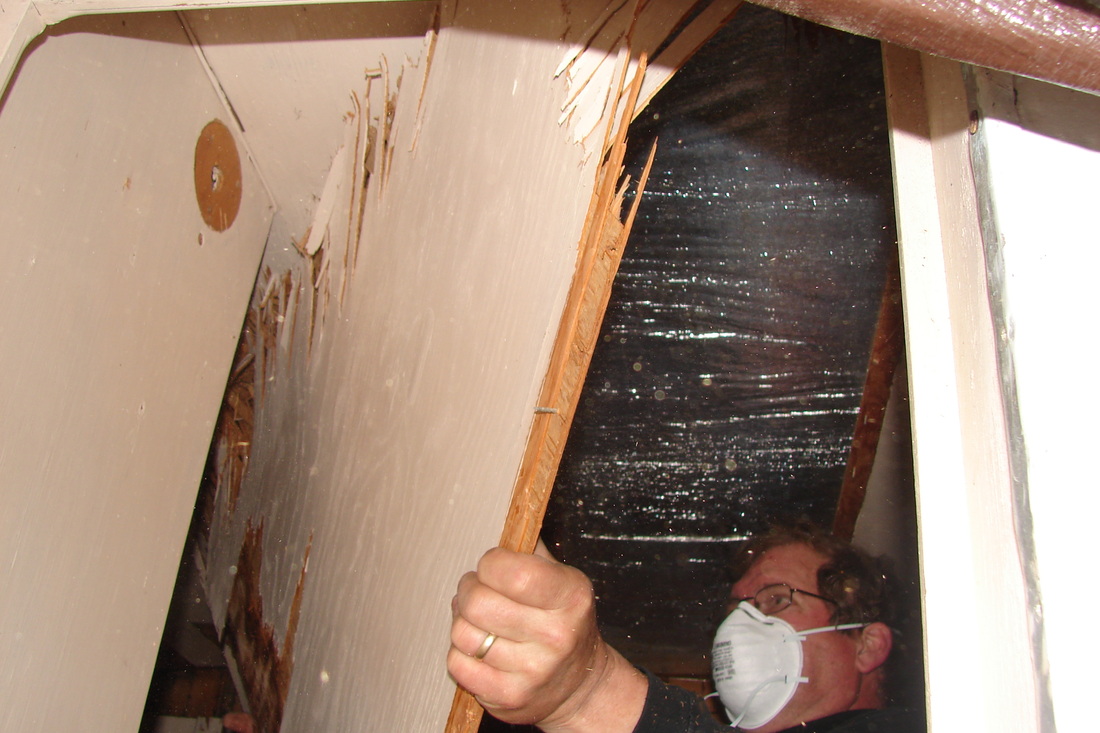
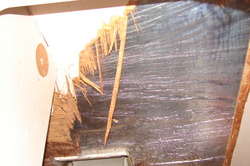
This picture shows how we were able to tear the plywood roof off. The silver layer you see is a thin layer of aluminum foil. When that was removed, all that remained was the inside of the metal sheeting of the roof.
The two pictures on the left, just above the text box, show water damage under the bed, and the middle one is underneath where the ice box was and the green cushion of the dinette. ICK!
The two pictures on the left, just above the text box, show water damage under the bed, and the middle one is underneath where the ice box was and the green cushion of the dinette. ICK!
